Multicast Inventory

Clicking the “Multicasts” subtab on the Inventory page to access to the Multicast Inventory. A table with the following columns will be displayed:
- Actions
- Zone
- Network
- Source Address
- Multicast Address
- Port
- Video Format
Search:
The Search field applies a generic search across all columns and return any items that have a match.
Add Multicast:

Clicking the “Add Probe” button to add a new multicast item. An “Add Multicast” modal will be displayed with the following fields:
- Zone: a dropdown menu with all of the configured zones from the Zone Inventory.
- Network: a dropdown menu with all of the configured Networks tied to the previously selected “Zone”.
- Multicast Address
- Port
- Video Format: the video stream type which includes MPEG2 and MPEG4 option.
- Source IP: the Source Address IP.
- Source IPs (list): all of the added Source Addresses. Each item has a “-” icon to remove the IP from the list.
- Add button (This button is greyed out unless all of the required fields are populated)
- Cancel button
Edit Multicast:
Users can click the “pencil” icon in the Actions column to edit a multicast item.
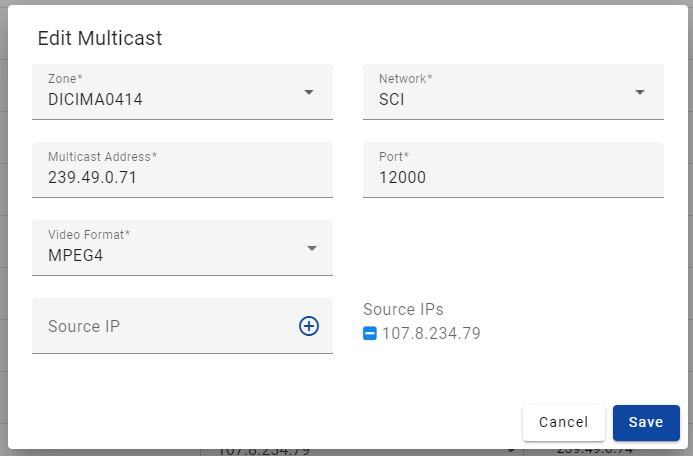
An “Edit Multicast” modal will display with the same populated fields as the “Add Multicast” modal. Instead of the “Add” button, there is a “Save” button.
Delete Multicast:
Users can click the “trash bin” icon in the Actions column to delete an existing multicast item. A “Delete Multicast” confirmation message will appear. Click “Yes” to delete or “No” to cancel.
Import CSV
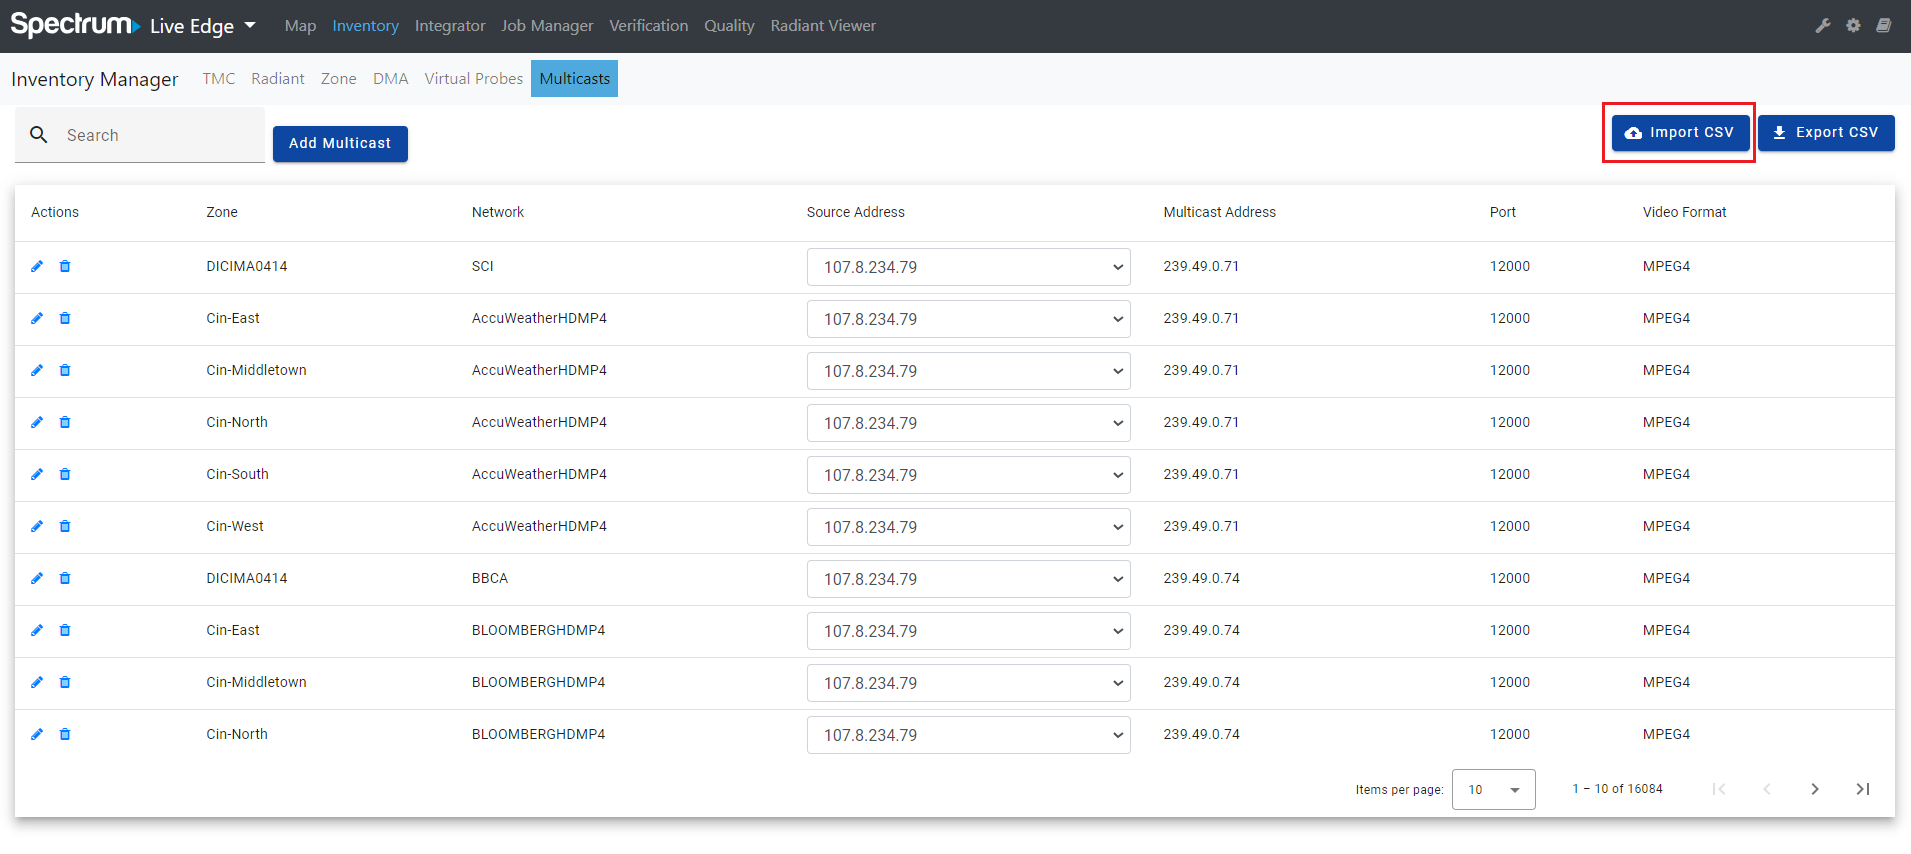
Users can click on the “Import CSV” button to import Multicast Network data from a CSV file, to quickly ingest Multicast Network data.
The CSV file will have the following headers:
- Zone
- Network
- Source Address (with a list of Source Addresses separated by commas)
- Multicast Address
- Port
- Video Format
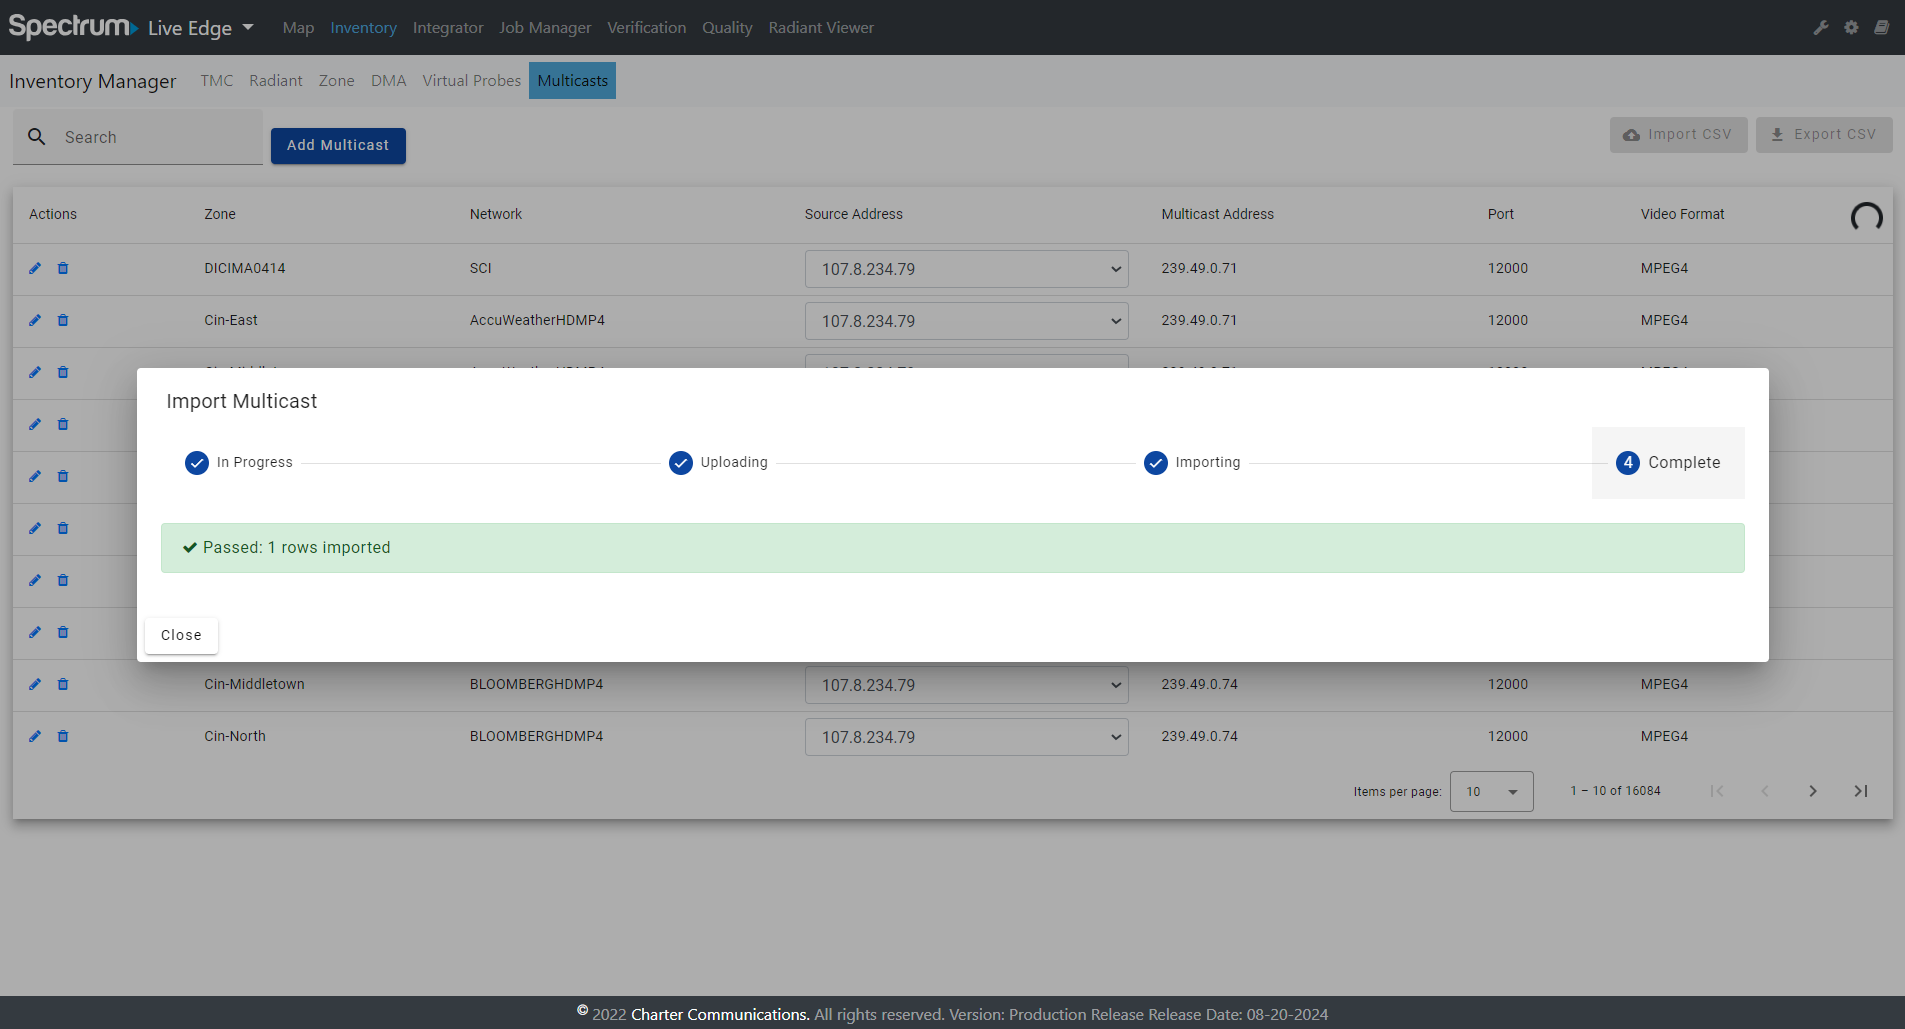
There will be an “Import Multicast” modal being displayed to let users better see what actions are happening.
Export CSV
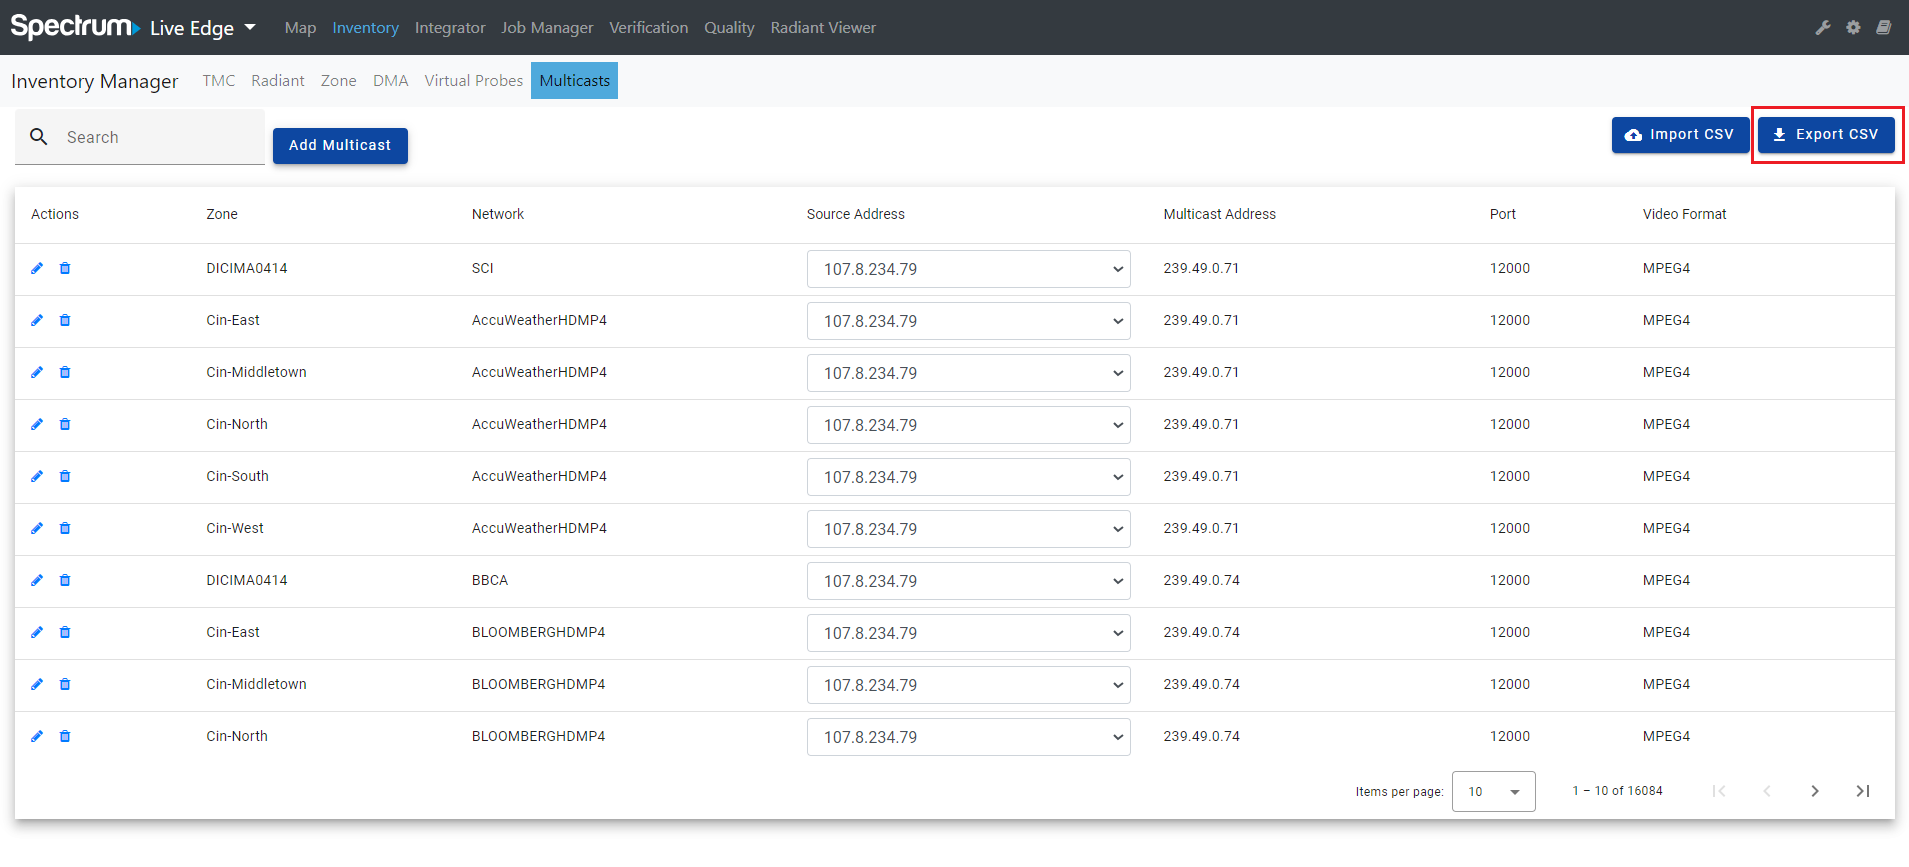
Users can click on the “Export CSV” button to export Multicast Network data from the Multicast Inventory to a CSV file.